TV Stand Woodworking Project


October 03, 2025
Intro
It is extremely difficult to write well. Or at least, it's extremely difficult for me to write well. This roughly 3-month journey of curiosity and procrastination, spent with some of my dearest friends, closed out my final chapter in Seattle.
Conception and planning:
I don't remember what ultimately pushed us over the edge, but my roommates and I had been entertaining the idea of building some furniture for a couple months. We initially tried to plan and render some tv stand designs in OpenCAD, but the more time we spent rendering on the computer, the further we got from actually building the thing.
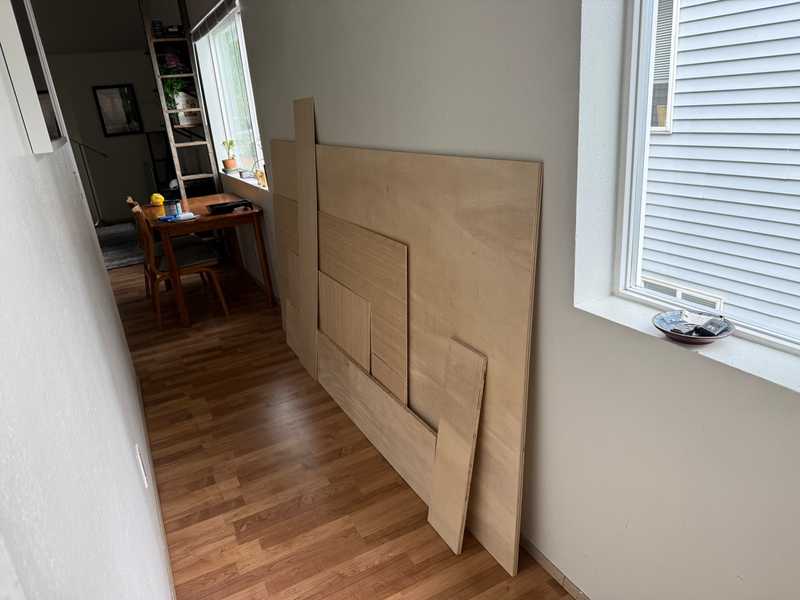
Pivoting from OpenCAD to an old sketch pad, we laid out just enough of the foundational dimensions to actually leave the apartment and meander down to Home Depot. And after some car-packing tetris, we were back home and the proud owners of 2 of the most void-free 4x8ft pieces of pine Home Depot had ever seen.
Building:
The Capitol Hill Library is an incredible organization and I can confidently say this project would not have been possible without their support.
Neither my roommates nor I had any of the tools necessary to actually construct a TV stand. Fortunately for us, the Cap Hill Tool Library offered the perfect low-commitment, cost-effective solution we were looking for -- after paying an optional initiation fee, we could check out woodworking equipment 2-weeks at a time and leverage the library's in-house woodworking shop.
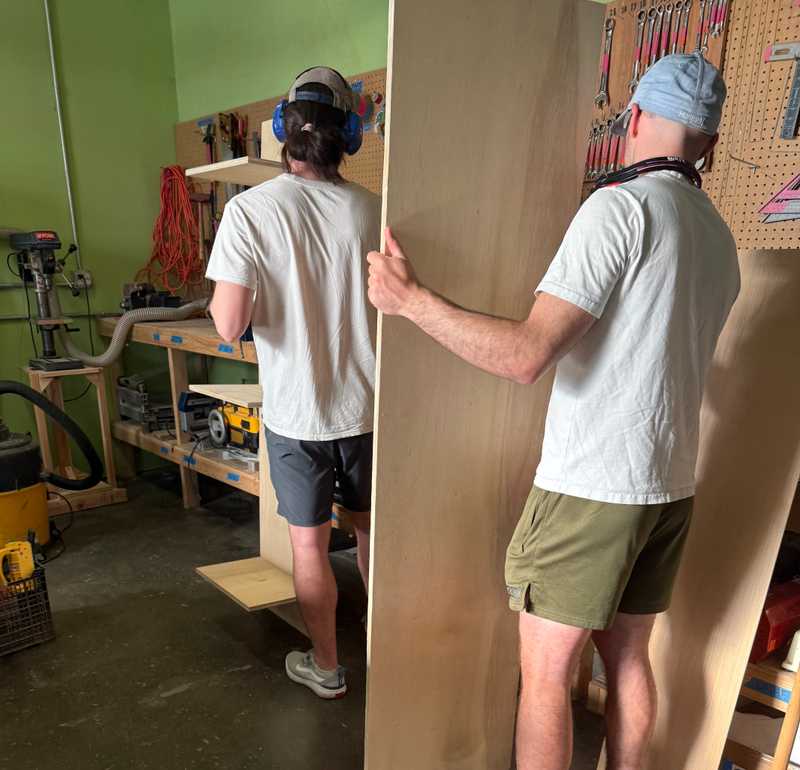
We started with a circular saw, then realized this would not deliver the consistency and precision of cut required, so we switched to a table saw. Once the primary pieces were cut, we had to determine a method of assembly. Woodworking screws were the obvious and easiest solution, but in the name of challenging ourselves, we attempted using dowels for a more seamless look.
Ensuring perfect alignment of the dowels was chaotic to say the very least. By the grace of god, and after much deliberation and many rounds of measuring and re-measuring, the pieces actually all fit together.
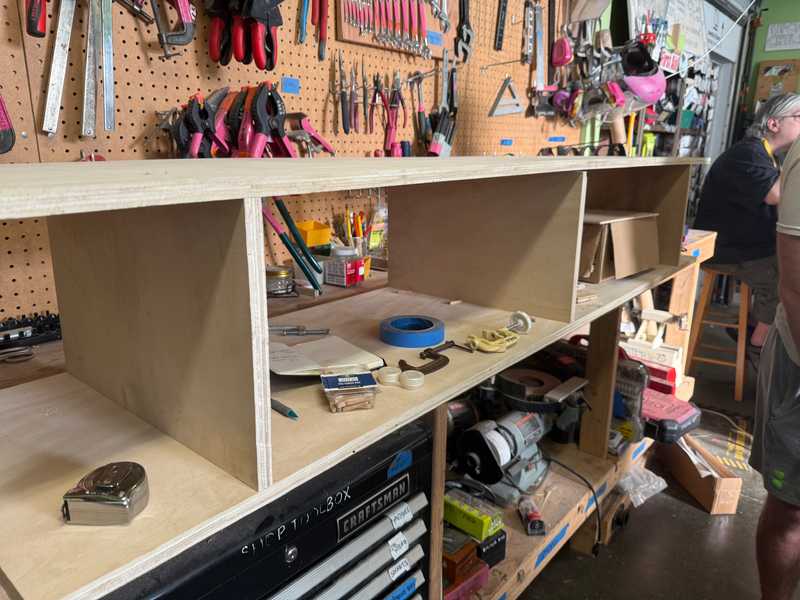
Having confirmed the correct sizing and method of assembly of our tv stand, we were rewarded with sanding.
I personally had never used an orbital sander, but man, was it a good time! Doing it consistently on all the sides of all our pieces, while blasting the eardrums of our neighbors -- now this was less fun.
I'm not sure why the portrait oriented photos are squashed but I'll look into this later. (Update: I started this blog before CodeX or Claude Code, but I have since asked CodeX to fix it, and wow -- it worked!)
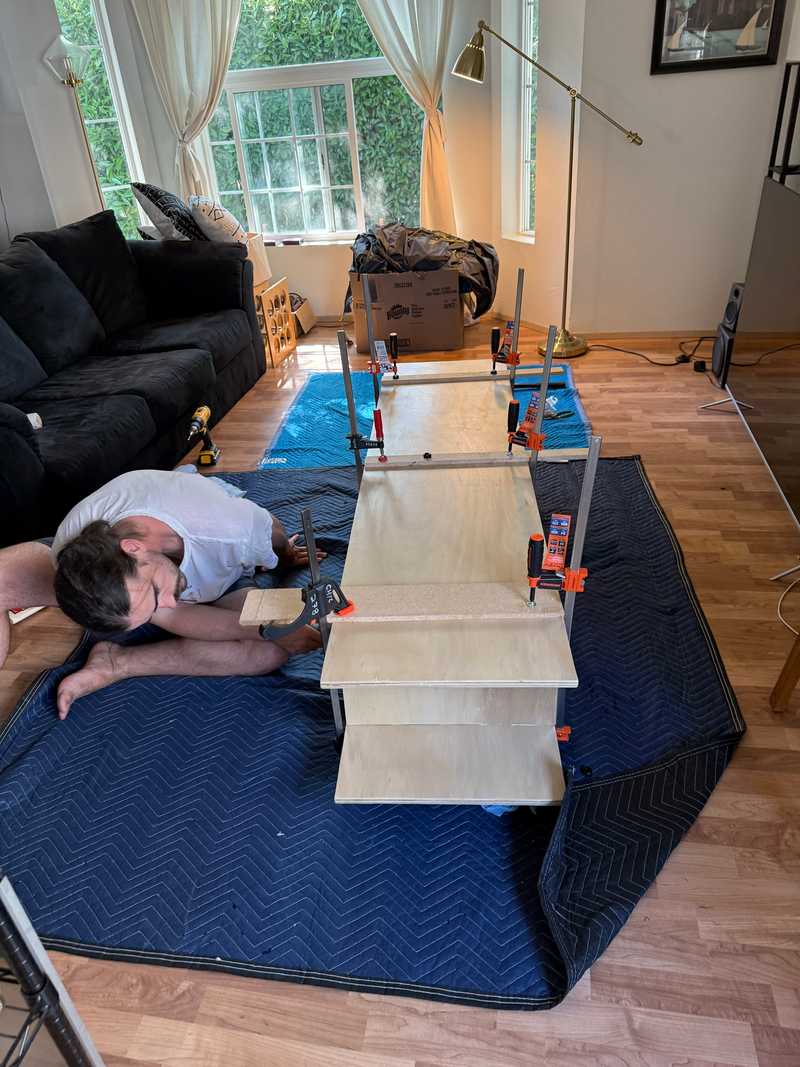
At long last, we were ready for the final assembly. We applied the last layer of wood-glue, joined all the pieces together, and using clamps to lock-in the final shape, set our assembly to rest and cure.
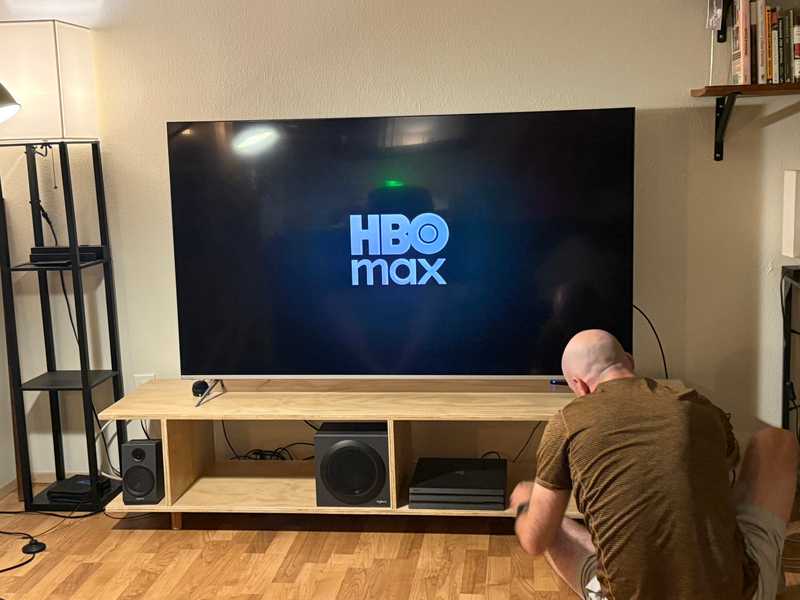
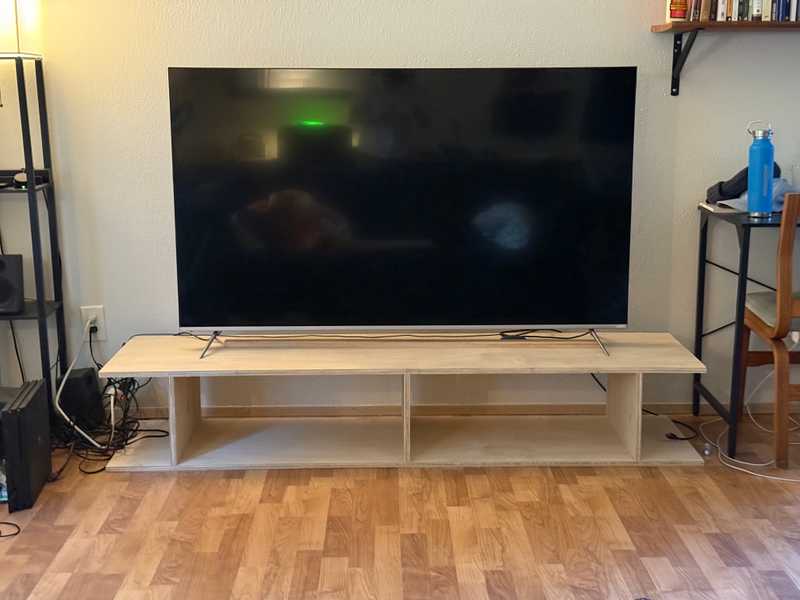
The final step was screwing in our hand-made legs (2-inch diameter dowels) to some anchoring brackets -- and voila!, we had our masterpiece.
B-Roll: